Introduction:
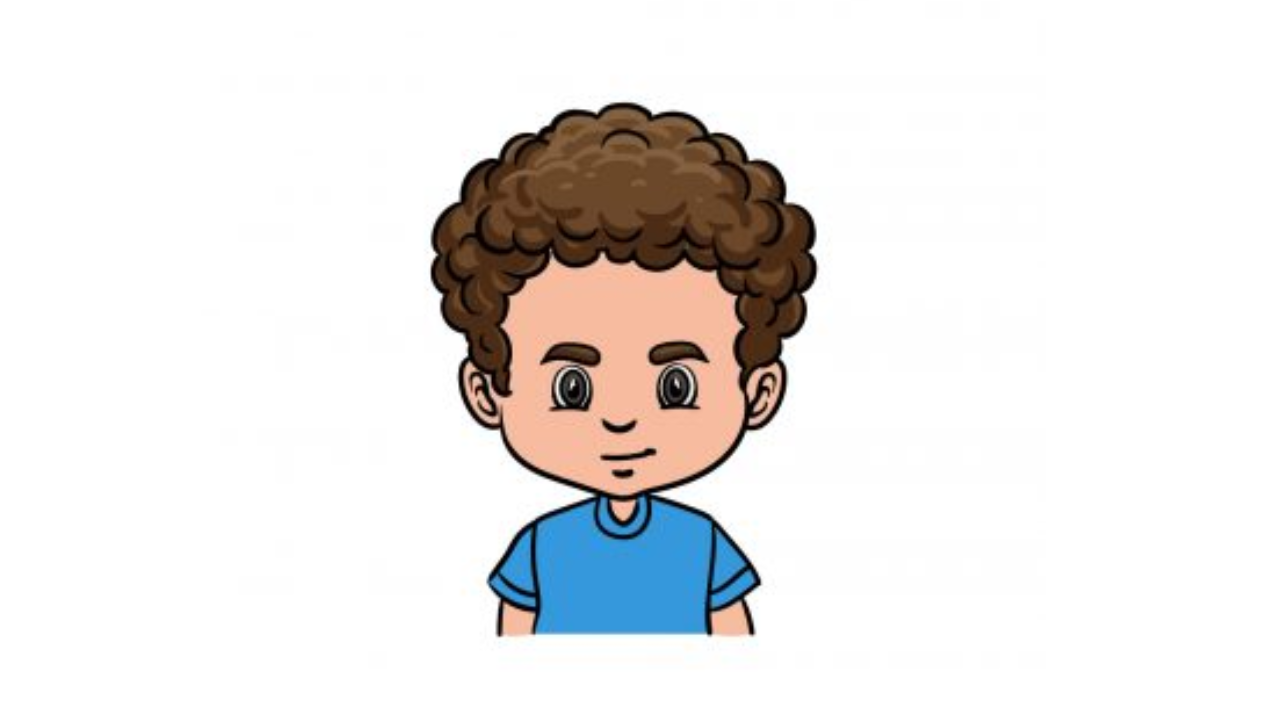
Draw Curly Male Hair: When drawing realistic portraits, one of the most challenging aspects is capturing curly male hair’s unique texture and flow. Curly hair adds character and depth to a person’s appearance, and mastering the art of depicting it can greatly enhance your artistic skills. In this step-by-step guide, we will walk you through the process of drawing curly male hair, from understanding the basics of curly hair structure to adding intricate details that bring your artwork to life. Please check out these Turkey coloring pages, I hope you really like these pages.

Understanding the Basics
Before diving into the drawing process, it’s essential to understand the fundamentals of curly hair. Curly hair differs from straight hair in its structure. It is characterized by its spiral or wave-like pattern, which results from the shape of the hair follicles. The curls can vary from loose waves to tight coils, each requiring a slightly different approach in your drawing.
Step 1: Outlining the Head and Hairline
Begin by sketching a basic outline of the head. This will serve as the foundation for the rest of the drawing. Pay attention to the proportions and shape of the head, as they will influence the hair’s overall look. Once you’re satisfied with the head shape, outline the hairline. Remember that the hairline can vary based on the individual’s age and hairstyle.
Step 2: Mapping the Curls
Curly hair often forms distinct sections or clumps of curls. Start by lightly sketching the general areas where these sections will be. Remember that curly hair tends to have more volume, so the hair will appear fuller than straight hair. Use loose, flowing lines to map out the curls, maintaining a sense of randomness in their arrangement.
Step 3: Adding Volume and Texture
Focus on adding volume and texture to give the curls a realistic appearance. Use curved lines to indicate the direction of the curls. Remember that curls can overlap and interweave, so don’t be afraid to let them flow into one another. Use varying line weights to create depth and dimension in the hair. Darken some lines to represent areas with more shadow, and keep others lighter to depict highlights.
Step 4: Defining Individual Curls
Curly hair comprises individual curls, each with its unique shape and size. Take time defining these individual curls within the larger sections you’ve outlined. Use a combination of curved lines and small spirals to indicate the winding nature of each curl. Experiment with different curl shapes to achieve a natural and varied look.
Step 5: Adding Detail and Depth
To enhance the realism of your drawing:
- Focus on adding details and depth.
- Use cross-hatching or stippling techniques to create shadows and highlights.
- Pay close attention to the areas where the hair overlaps the scalp and the hairline, as these are crucial for a convincing portrayal of curly hair.
- You’ll create a sense of depth and dimension by carefully shading and adding texture to these areas.
Step 6: Refining and Blending
At this stage, take a step back and assess your drawing. Look for areas that need refinement or blending. Curly hair often has a soft, textured appearance, so use your blending tools, whether they’re pencils or digital brushes, to gently smooth out any harsh lines. Remember that achieving a balance between structure and softness is key to capturing the essence of curly hair.
Step 7: Finalizing the Details
As you approach the final stages of your drawing, zoom in on the details. Focus on individual strands, flyaways, and any other nuances that contribute to the realism of curly hair. Don’t hesitate to experiment with different techniques to replicate the intricate patterns that curly hair presents. This attention to detail will truly elevate your artwork.
Step 8: Embracing Imperfections
It’s important to embrace the imperfections and natural irregularities of curly hair. Not every curl needs to be perfectly defined; some strands might appear more unruly than others. These imperfections add authenticity to your drawing and reflect the natural diversity of curly hair.
Step 9: Adding Dimension with Highlights
Adding highlights is one of the final touches to bring your curly male hair drawing to life truly. Highlights play a crucial role in enhancing the three-dimensional appearance of the hair. Identify the areas where light would naturally hit the curls, such as the tops and edges of the clumps. Use an eraser or a white pencil (if working on paper) or a lighter colour (if working digitally) to carefully add these highlights. This step will make the curls pop and add realism to your artwork.
Step 10: Creating Contrast and Depth
Pay attention to the overall contrast in your drawing to further emphasize the texture and depth of the curly hair. Darken the shadows between the curls and the areas where the hair overlaps to create a sense of depth. Contrast can greatly enhance the visual impact of your drawing, making the curls appear more pronounced and realistic.
Step 11: Balancing the Composition
As you finalize your curly male hair drawing, take a moment to assess the overall composition. Ensure that the hair complements the rest of the portrait and doesn’t overpower other elements, such as the facial features or the background. Adjust the shading, contrast, and details to maintain a harmonious balance within the artwork.
Conclusion:
Mastering the art of drawing curly male hair requires practice, observation, and a keen understanding of its unique characteristics. By following this step-by-step guide, you’ll be well-equipped to capture the beauty and complexity of curly hair in your portraits. Remember that patience and dedication are key; each drawing you create will contribute to your growth as an artist. So, pick up your pencil or stylus, and embark on the exciting journey of bringing curly male hair to life on paper or screen. For more information, please Click Here!