
After researching for about 2 hours and clearing all my doubts and queries, I decided to add Cricut Explore Air 2 to my craft room. Since I have heard so much about this machine, I’m curious to learn more about how to use Cricut Explore Air 2 and its basic concepts. As a proud member of the Cricut Explore family, this ultimate machine is a dream tool for all crafters. It can cut 100+ materials with incredible precision and accuracy.
Apart from that, this Cricut product also comes with various supplies and bundles, allowing crafters to make unlimited DIY projects on their own. Through this machine, I can also start my own business and turn my crafting hobby into a profession. In this blog, I am going to help you by sharing the basic features of Explore Air 2 and other relevant content.
What Are the Salient Features of Cricut Explore Air 2?
Before paying particular attention to how to use Cricut Explore Air 2, I am going to pay special attention to this machine’s foremost features. After coming across the features, you will have a complete idea about what Explore Air 2 is and its importance. As an expert, I will advise you to study the below particulars:
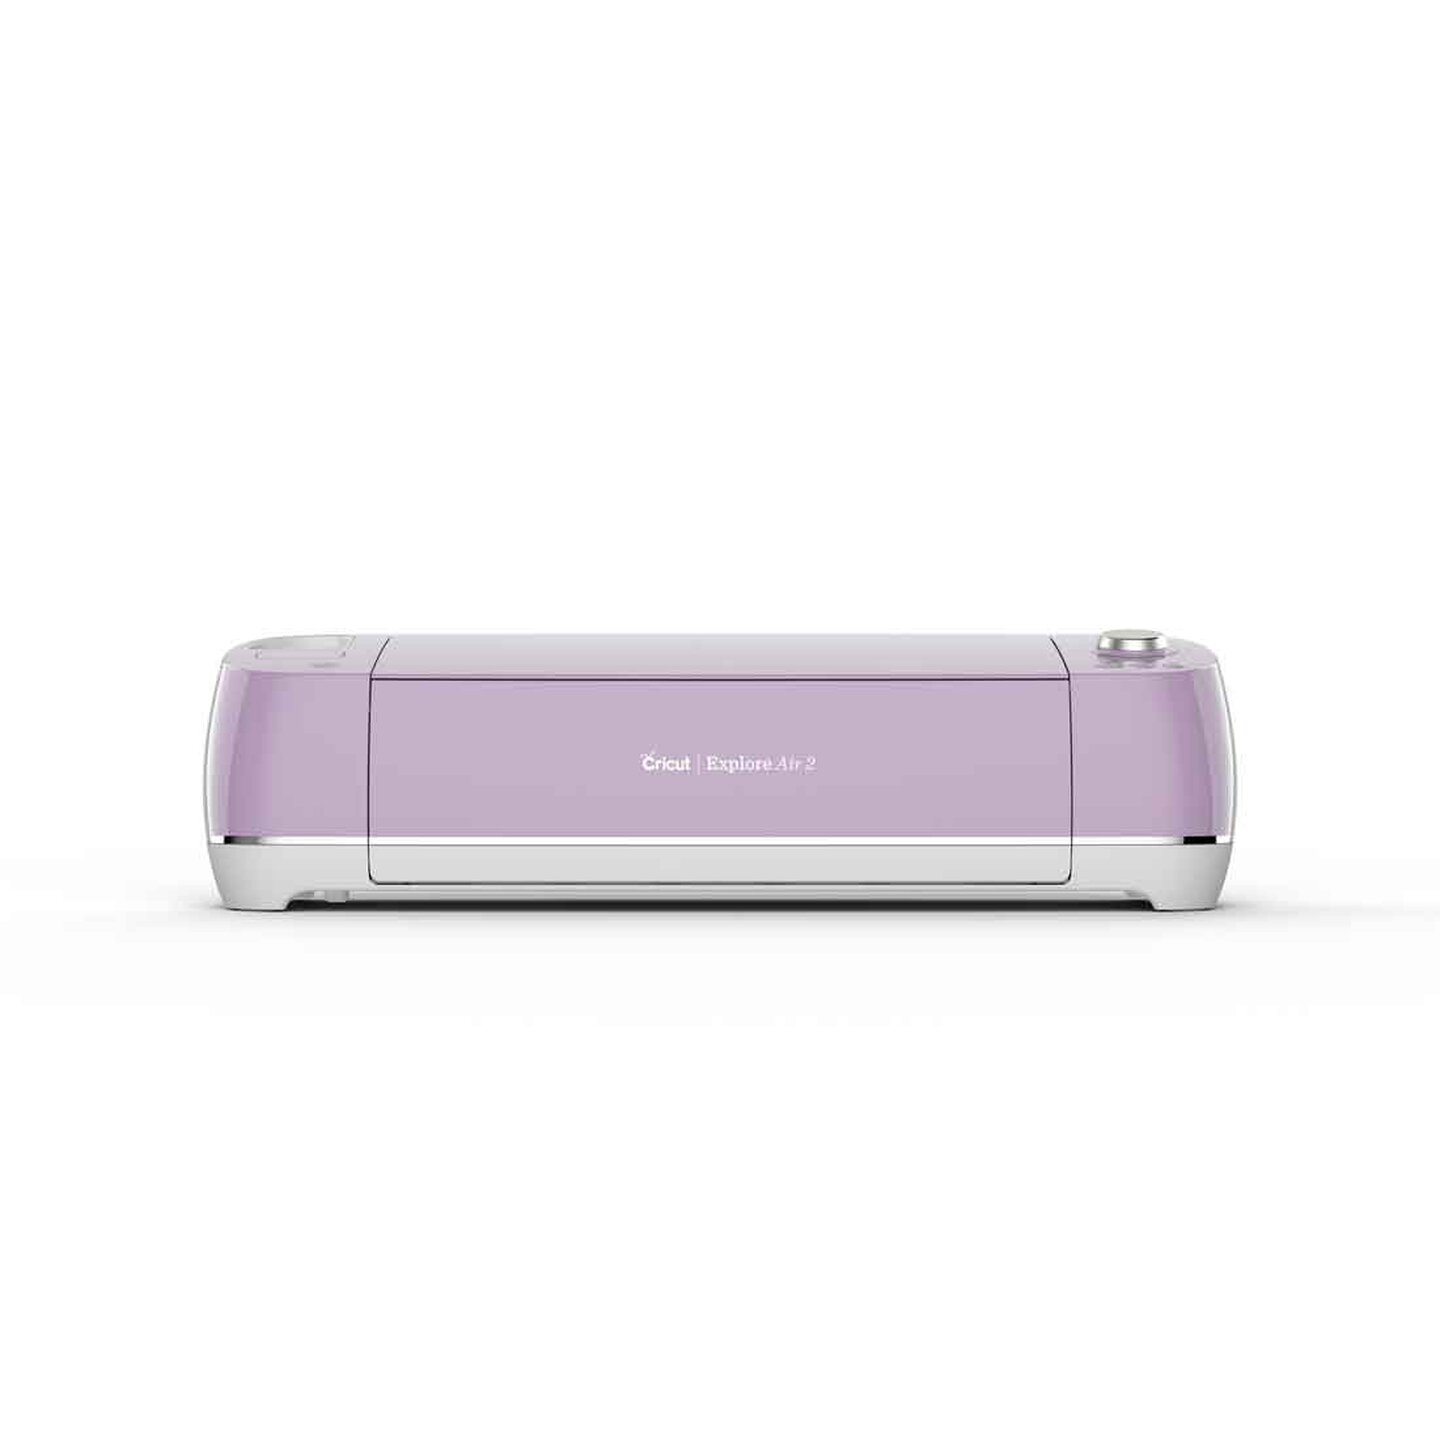
As compared to other models, the design of this machine is relatively smooth, sleek, elegant, and cool. It weighs around 21 pounds, is 22.17 long, and comes in different colors. Some of its famous colors include Black, Blue, Lilac, Mint, Peacock and many more.
Equally important, this craft machine comes with two clamps, allowing me to put two accessories at the same time. It will not only save my time but also complete the assigned task quickly.

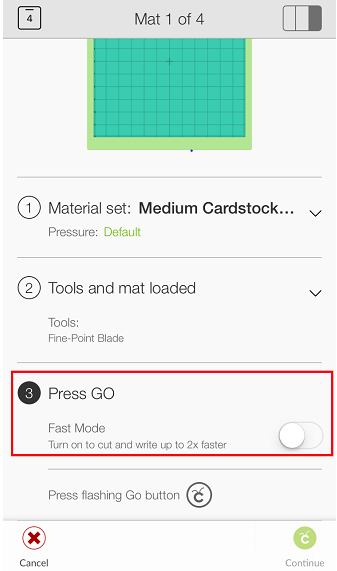
In addition, this machine has a Smart Dial mode on its right side, from where you can choose your material type. Other than that, it permits me to cut the design two times faster by switching on the Fast mode. I can activate the Fast mode on the mat preview page.
Apart from that, this Cricut product supports three different kinds of blades, which include the Premium Fine Point blade, Deep Point blade, and Bonded Fabric blade. Now, each blade cuts specific material and needs to be used with its Housing only.

Furthermore, this craft machine is compatible with the Design Space app and comes with a built-in Bluetooth feature. With wireless technology, it will get more simple for me to transfer the projects during the test cut process.
After learning about the primary features of this craft machine, it’s time to take a step forward and come across how you can use Cricut Explore Air 2. I will teach you how easy it is to create any customized project from this craft machine.
Easy Guide: How to Use Cricut Explore Air 2?
As an expert, I advise you to focus on this part of the blog since it’s going to be beneficial for you. I am aware that this Cricut product makes various projects for multiple purposes. Here, you will learn to use the Explore Air 2 machine to design a customized cake topper.
Step 1: Cricut Design Space Login and Draw a Design
I am to begin the process of using Explore Air 2 to create a customized cake topper by logging into the Design Space. For a successful login, I am using my Cricut ID & password inside the specific field. Following this, I will instantly get connected to the canvas.

Now, press the Text icon, type Madly in Love, and change the color, fonts, and size as per your choice. Afterward, I am going to select the Ungroup option given under the Layers panel.

By choosing the Ungroup option, I will move all the letters close to each other and then hit the Weld given at the end of the Layers section. Next, open the Shapes Dropbox, choose the Circle shape, resize it, and place it on top of the letter I. Afterward, I will again press the Weld button and create all the words into a single object. Further, I will change the topper size and then press the Make It button to move towards the next stage.

Step 2: Select the Material and Start Cutting
In this stage of how to use Cricut Explore Air 2 for creating a cake topper, I will choose Light Chipboard-0.55mm given under the Set material section.

After selecting the material, I am going to place it on the cutting mat, press the flashing button, and my Cricut machine will instantly begin cutting the material. On my screen, I’ll get to see the cutting status.

Following the completion of the cutting process, I am going to unload the cutting mat from my Cricut product. Next, I will pop out the design from the mat using the spatula tool and remove the extra material from the Madly in Love design.
Step 3: Stick a Toothpick & Show Your Final Design
Afterward, fill your Cricut glue gun with adhesive solid glue and place it at the back of the design. Further, take the stick and put it on the glue with gentle hands and wait for a few seconds. Finally, I will take my DIY cake topper and place it in the middle of my fully baked cake.

As a result of this blog, you are well aware of the concepts of this machine. I wish you all the best, and start getting more creative by discovering your inner skills.
Visit: Cricut Design Space
install cricut design space app
Source: how to use Cricut Explore Air 2