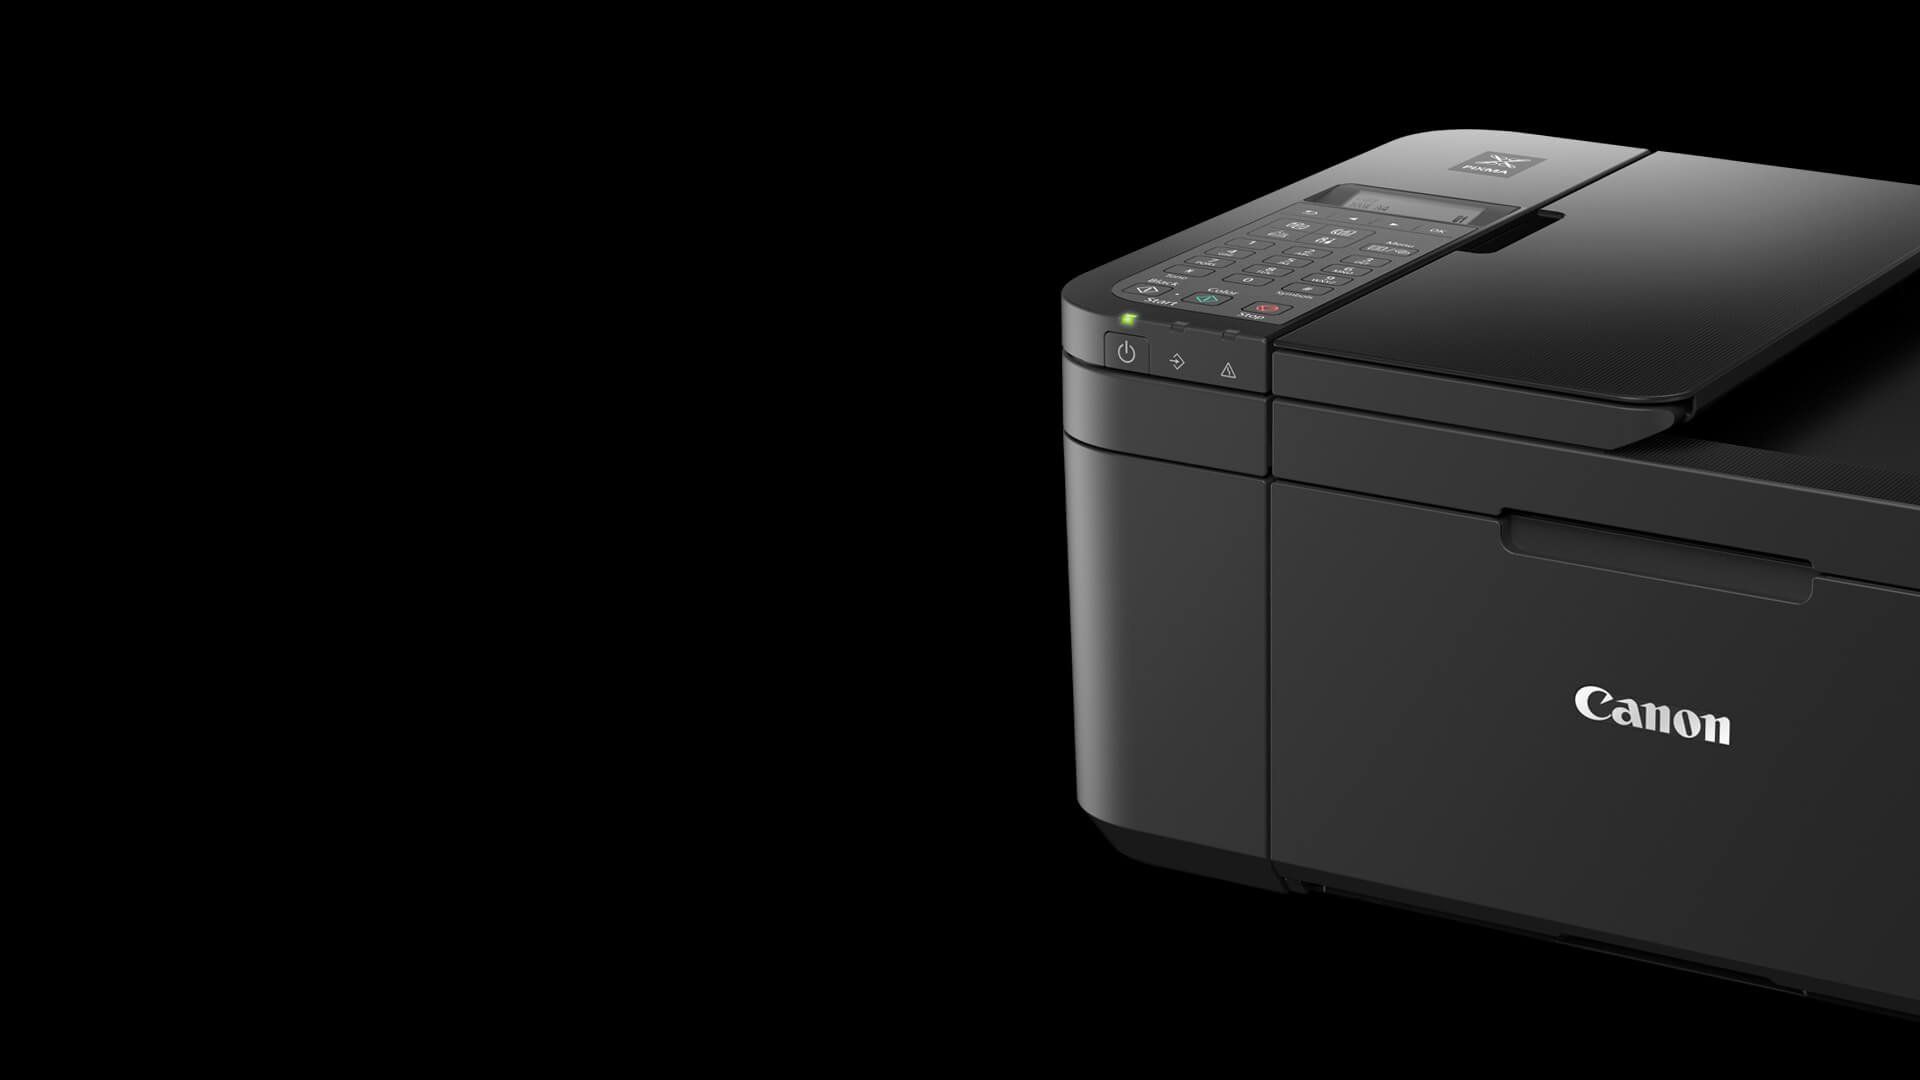
Are you looking to set up and install your Canon printer wirelessly on both Windows and Mac operating systems? In this article, we will provide you with a step-by-step guide on how to download, setup, and install your Canon printer without the need for a USB connection with the help of http://ij.start.cannon website . Whether you are a Windows or Mac user, this guide will assist you in getting your Canon printer up and running in no time. So, let’s dive in!
Setting up your Canon printer wirelessly allows you to print documents from any device connected to the same network without the hassle of using a USB cable. With the following instructions, you’ll be able to download the necessary software, connect your printer to Wi-Fi, and seamlessly print from your Windows or Mac computer.
Preparing for Wireless Setup
Before proceeding with the wireless setup, ensure that you have the following:
- A Canon printer compatible with wireless connectivity
- A stable Wi-Fi network
- Credentials for connecting your printer to the Wi-Fi network (usually the SSID and password)
Downloading the Printer Software
To begin, you’ll need to download the appropriate printer software from the Canon website. Follow these steps:
- Open your preferred web browser.
- Visit the official Canon website.
- Navigate to the “Support” or “Downloads” section.
- Enter your printer model and select it from the search results.
- Locate the “Drivers” or “Software” section.
- Choose the operating system (Windows or Mac) and its version.
- Click on the download link to start the download process.
Setting Up Canon Printer on Windows Wirelessly
Step 1: Connecting the Printer to Wi-Fi
- Power on your Canon printer and make sure it is in a ready state.
- Press the “Settings” button on your printer.
- Using the arrow keys, navigate to the “Device Settings” or “Wireless LAN Setup” option.
- Select “LAN settings” or “Wi-Fi setup” and choose the appropriate connection method.
- Follow the on-screen prompts to connect your printer to the Wi-Fi network.
Step 2: Adding the Printer on Windows
- On your Windows computer, click the “Start” button and go to “Settings.”
- Select “Devices” and choose the “Printers & scanners” option from the left sidebar.
- Click on the “Add a printer or scanner” button.
- Windows will search for available printers. Once your Canon printer is detected, click on it and select “Add device.”
- Windows will install the necessary drivers and set up the printer for wireless use.
Setting Up Canon Printer on Mac Wirelessly
Step 1: Connecting the Printer to Wi-Fi
- Turn on your Canon printer and ensure it is ready for setup.
- Press the “Settings” or “Menu” button on the printer.
- Using the navigation buttons, select “Device Settings” or “Wireless LAN Setup.”
- Choose the appropriate connection method, such as “Wi-Fi setup” or “LAN settings.”
- Follow the on-screen instructions to connect your printer to the Wi-Fi network.
Step 2: Adding the Printer on Mac
- On your Mac computer, click the Apple menu and select “System Preferences.”
- Choose the “Printers & Scanners” option.
- Click on the “+” button to add a new printer.
- Mac will search for available printers. Once your Canon printer is detected, select it and click “Add.”
- Mac will download and install the necessary printer software automatically.
Troubleshooting Common Issues
While setting up your Canon printer wirelessly, you may encounter some common issues. Here are a few troubleshooting steps:
- Ensure that your Canon printer and computer are connected to the same Wi-Fi network.
- Double-check the Wi-Fi password you entered during the setup process.
- Restart your Canon printer and computer to refresh the connection.
- Update the printer drivers and software to the latest versions available on the Canon website.
Congratulations! You have successfully learned how to download, setup, and install your Canon printer wirelessly on both Windows and Mac operating systems by launching http:ij.start.canon. By following the outlined steps, you can now enjoy the convenience of printing without the need for a USB connection.