If you have been spending a lot of time using QuickBooks you might be pleased to know that you can send email using the software. Intuit QuickBooks integrated with major email providers letting you send messages easily. In this article we will see how to integrate Google account with intuit QuickBooks and see how to reauthorize QuickBooks to keep using Gmail. You can send emails quickly and easily from QuickBooks through Gmail.
When you connect QuickBooks to Gmail account you can access all of your business contacts without re-entering information.
Is QuickBooks Desktop Compatible with Gmail for sending emails?
Make sure you are using the right version of QuickBooks. The version 2019 and 2020 lets users connect their secure webmail accounts to QuickBooks. The 2018 version can also be used to connect to Gmail and Hotmail. If you have a different version you can upgrade to the latest version of QuickBooks.
How to authorise QuickBooks Desktop to use Gmail?
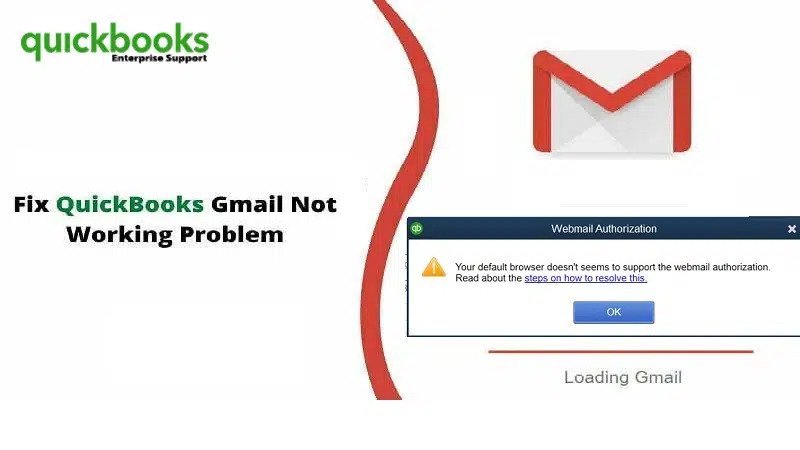
If you have configured Gmail to use improved security you will be prompted to authorise QuickBooks Desktop when you send a transaction or report. Make sure you upgrade it to the latest version else you might get some error when trying to email a transaction or a report.
- Firstly, you need to select email from any open transaction or report in QuickBooks.
- Next, select send so you may be prompted to log in with intuit credentials.
- Select continue in the webmail authorisation window.
- Click “Allow”
There is no need to uncheck any default permissions set by Google.
Troubleshooting Your Gmail Account in QuickBooks
A lot of users have reported problems when connecting Gmail address to QuickBooks using the method described above. Usually Google prevents signing into email account fearing that accounting software does not meet the credentials. You can log into G-suite account and then click the link for connected apps and sites.
At the bottom of the page you will find an option “allow less secure apps”. If this option is turned off select “on”. Once you have completed this step return to QuickBooks and try connecting your Gmail account to QuickBooks. If this does not work you may need to contact QuickBooks technical support team to address the issue.
How to reauthorize QuickBooks?
Google often keeps updating the app privacy policies which will require users to reauthorize integrated programs. This will help us to continue using Google products and other applications. In that case you may get a message that the app is not verified.
Here is how you can fix it –
- Select “email” from any transaction or report present in the QuickBooks.
- Next select the “Send” option.
- Then you might have to re-enter the intuit credentials.
- Select “continue” in authorization window.
- Next select “allow” option.
All of these steps will help reauthorize QuickBooks to continue using Google account, you will not have to change any default settings on Google.
Conclusive Lines!
The step-by-step process given above can help you reauthorize QuickBooks to keep using Gmail. The guidelines given above should be enough for you to get the reauthorization done. In case you cannot solve this issue feel free to call us at our QuickBooks desktop helpline i.e., 1-800-761-1787.