
In Horizon: Forbidden West, find Delver Trinkets all over the Burning Shores to find a hidden treasure.
In Horizon Forbidden West: Burning Shores, one of the many mysteries is what happened to an Oseram digging mission that went in search of Goldenhollow, a legendary source of Brimshine. Players with sharp eyes will be able to find the bodies of these unfortunate hikers in hidden places all over the map. Did they still find the treasure?
Every time you find a dead Delver, you’ll also find a Trinket with a clue about what happened to the mission and where Goldenhollow is thought to be. Read on if you want to do better than the Oseram and take the Brimshine for yourself.
Cherished Flask
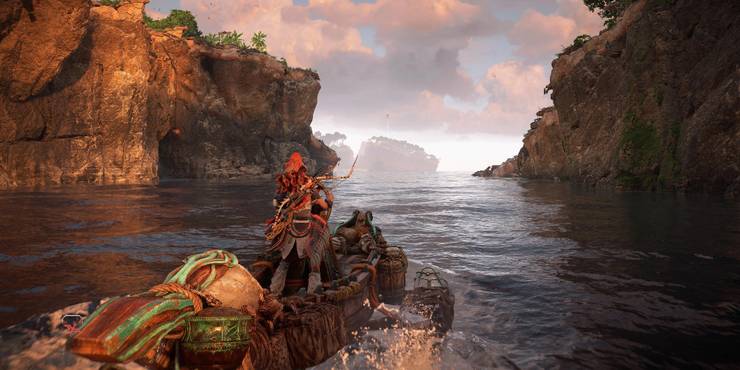
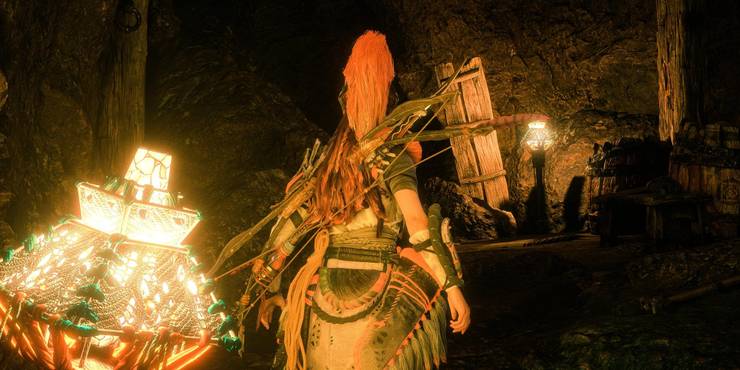
Get on a boat and sail to the east side of the big island across the bridge from Fleet’s End. You can sail into a cave in the cliffs across from the island. The opening has a red lantern hanging from it, and you can see the purple glow of unstable Firegleam inside.
Leave the boat at the cave’s entrance and swim to the back. Climb out of the water in the Oseram sleeping area and use the Pullcaster to hook the box that is floating in the water. Pull it out of the corner so you can get to it from the platform in the first room.
When the crate is in the entry room, stand under the platform near the Firegleam and pull it over. Detonate the Firegleam when it’s in a place where you can use it to reach the platform, then climb up.
Climb to the left until you’re above the camp, then jump to a beam on the other side of where you are. From the beam, jump over to the other side of the cave and keep going straight.
You’ll find the Cherished Flask in a chest at the top of the climb. There are also a lot of loose rocks that you can break apart with your blade to get to a big pile of Brimshine.
Old Pot
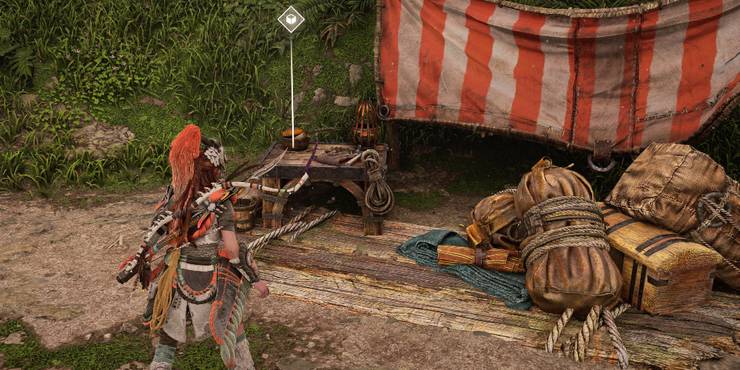
In the top left area of the Burning Shores map is a Slitherfang Site. To get to the Oseram camp at the back of the Site, you must kill or avoid the Slitherfang.
Between the tents, there is a table with the Old Pot on it. You can easily sneak past the Slitherfang by gliding from the western cliff and landing behind it, since it is looking away from the camp.
Music Box

Go to the Clamberjaw Site near the center-north edge of the map and clean it up. The machines are weak against Shock, so use it to get rid of some of them or you’ll be attacked from all sides.
Scorcher is with the Clamberjaws, so use Purgewater Ammo to stop it from using fire weapons. You can also soak the Clamberjaws by setting off the Purgewater bombs on them.
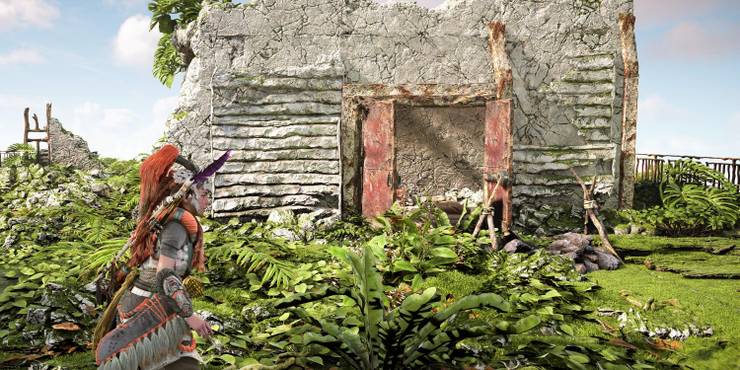
Take what you can from the machines, and then look for a wooden platform that the Oseram made. You can find an Oseram shelter by walking along the bottom of the hill to the right of the platform. Get the Music Box and two treasure boxes by going inside.
Delver’s Cap
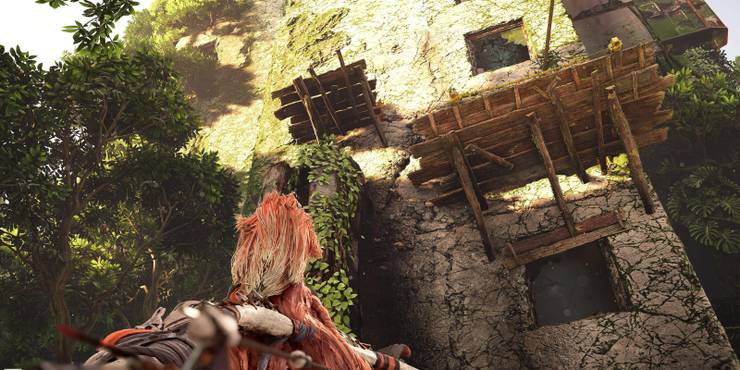
Go to the Frost Bellowback Site, which is southwest of the Murmuring Hollow Relic Ruin on the south side of the centre island. At this spot, there are two Bellowbacks, a Stalker, and a Sunwing. Kill them all and take what you can from them, then look around.
You can find a dead Oseram who fell from above near the bottom of the big building to the west of the road. If you can’t find the body, use your Focus to look for it. When in scanning mode, corpses glow white.
Use your flying mount to get to the platform above the body. There’s a chest at the top of the zipline, and the bottom of the zipline goes to a room in the building.
Stand in front of the room’s door and look up. On the side balcony, there are some jars of Blaze in Slope Game. Set them on fire with Fire Ammo to blow a hole in the roof of the room. Then, go inside and climb the wall to the left to get the Delver’s Cap and a big piece of Brimshine.
Lucky Porker
Visit the Clamberjaw Site on the eastern hill of the island just south of Fleet’s End. A ruin just east of the spot has a metal clamp that can be broken with the Pullcaster. To get the right view, you’ll need to stand on the roof above it.
Drop through the hole where the clamp was and go down the stairs inside. At the bottom, you’ll find the Lucky Porker and a chest with important machine parts, such as Apex Hearts. You can go back the way you came, or you can open the door to get to an inlet on the island.
Hef The Hammer
Southwest of Fleet’s End, look for the mouth of a river on the south side of the island. During the Splinter Within quest, it’s easy to get to because it’s just north of where you need to go.
There is a Shelter on the rocks that look out over the river. Look for a crane with a platform hanging over a cliff and a piece of Brimshine on it. Collect the Brimshine and then jump into the mine pit you can see from the platform. Hef The Hammer is inside.
If you want to hunt something easy, there is a Tideripper north of the cave that can’t attack back if you shoot it from the top of the cliff.
Mighty Pint
A Stormbird has moved to the westernmost island in the Burning Shores. Follow it into the air to start a fight with it, and kill it so you can safely explore the island.
As part of the fight, the Stormbird will kill your flying mount, so you’ll have to get on a new one.
Use the Pullcaster to get to the ruins at the top of the hill once the Stormbird is dead. On top, there’s a closed door that’s not locked, so open it and take the Mighty Pint that’s inside.
How To Find The Delver’s Trove
Go to the Delver’s Camp west of Cauldron THETA when you have all seven of the trinkets. It’s on the eastern side of the same island where you found the Cherished Flask.
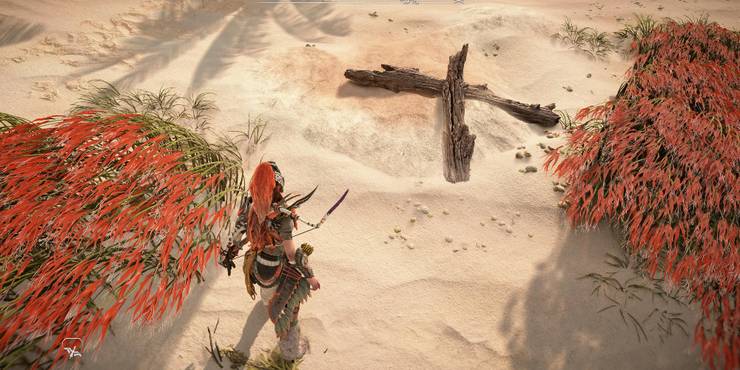
Stand on the beach at the camp and look east. Climb the cliff on the island across the water and walk interior. You will find the bodies of two more Delvers. Keep going straight until you see the beach on the other side of the island, and look to your left for a pair of palm trees.
Stand between the palm trees. The holograms are easy to see from Pangea Park, which is to the southeast. Walk slowly north. Turn right after twenty steps and walk through the water.
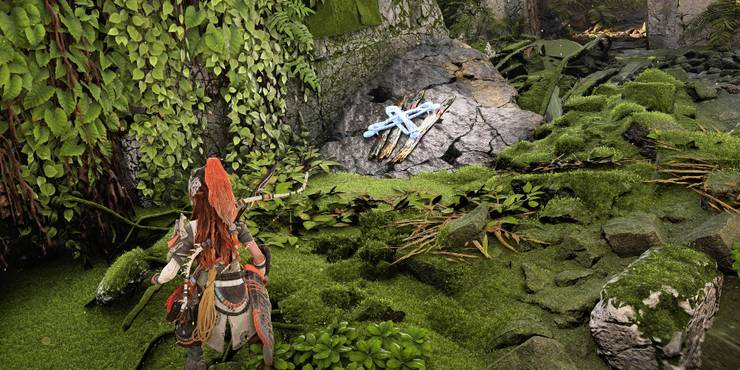
When you get to the other side, you’ll see two patches of stealth grass separated by a lump of sand. From where you are, the pieces of wood on top of the lump will look like an X, which of course marks the spot.
If you look at the clump of sand, Aloy will find a box. When you open it, you’ll find fifteen pieces of Brimshine, a lot of things you can sell, and a Legendary Weave. That’s quite a haul!
Even if you know where the wealth is, you can’t dig it up until you have all seven Delver Trinkets.