
Introduction
Golf cart batteries are the lifeblood of your golf cart, providing the essential power needed for a smooth and efficient ride. Whether you own a 36V or 48V golf cart, understanding how to install and maintain lithium batteries is paramount for optimal performance. In this comprehensive guide, we will take you through the step-by-step process of installing lithium golf cart batteries, ensuring a seamless transition and safe operation.
How To Install Lithium Golf Cart Batteries On A 36V Or 48V Golf Cart
Preparation and Safety Measures
Before delving into the installation process, it’s crucial to gather the necessary tools and take safety precautions to ensure a smooth and secure battery replacement.
Gather Necessary Tools:
- Ratchet or socket wrench set.
- Protective eyewear, gloves, and battery carrying straps.
- Wire stripping and connecting kit (if using a 12V converter).
Safety Precautions:
- Ensure you have protective gear on to handle lead-acid batteries safely.
- Utilize battery carrying straps to protect against corrosion and acid splash.
Removing Old Batteries
- Disconnect Cables:
- Disconnect the primary positive cable first, followed by the primary negative cable.
- Identify and disconnect wires not connected to other batteries (primary wires).
- Remove Batteries:
- Take out the batteries after detaching any remaining cords.
- Clean the battery bay using a baking soda and water solution if needed to neutralize any battery acid.
Battery Series Connection
- Charge Batteries:
- Ensure batteries are fully charged before connecting in series.
- Use a 12V charger for balancing, included in Redway Power Lithium packs with 50Ah or more batteries.
- Fuse Installation:
- Strongly advise using a fuse between DL+ batteries in series for safety.
- Install the fuse between the battery positive and the main positive.
Installing New Lithium Batteries
- Secure Mounting:
- Safely mount the new lithium batteries on the cart.
- Connect Main Wires:
- Start with the positive wire and proceed to connect all main wires.
- Apply 10 foot-pounds of torque on each connection.
- Final Check and Sealing:
- Double-check all connections before proceeding.
- Test the cart to ensure proper functioning.
- Apply dielectric grease to battery terminals to seal them from the environment.
Connecting 12V Accessories
- Use a 36/48V to 12V converter to maintain battery pack balance if you have 12V lighting or accessory connections.
Monitoring and Maintenance
Monitoring Battery Usage:
- Be aware of LiFePO4 battery’s aggressive drain curve for a more precise understanding of usage.
- Use compatible battery monitors for accurate readings and better battery management.
Maintaining Your Battery:
- Discharge the battery as much as possible before recharging to prolong its life.
- Use only the Redway Power Lithium charger and maintain charging temperature above freezing.
- Handle batteries carefully to maximize their lifespan.
By following these steps and safety precautions, you can effectively install and maintain golf cart batteries, ensuring a prolonged and efficient lifespan for your lithium power source. Remember, proper care and attention to detail during installation and maintenance will contribute to a reliable and enjoyable golf cart experience. Golf Cart Batteries are not just components; they are the driving force behind every smooth ride on the greens.
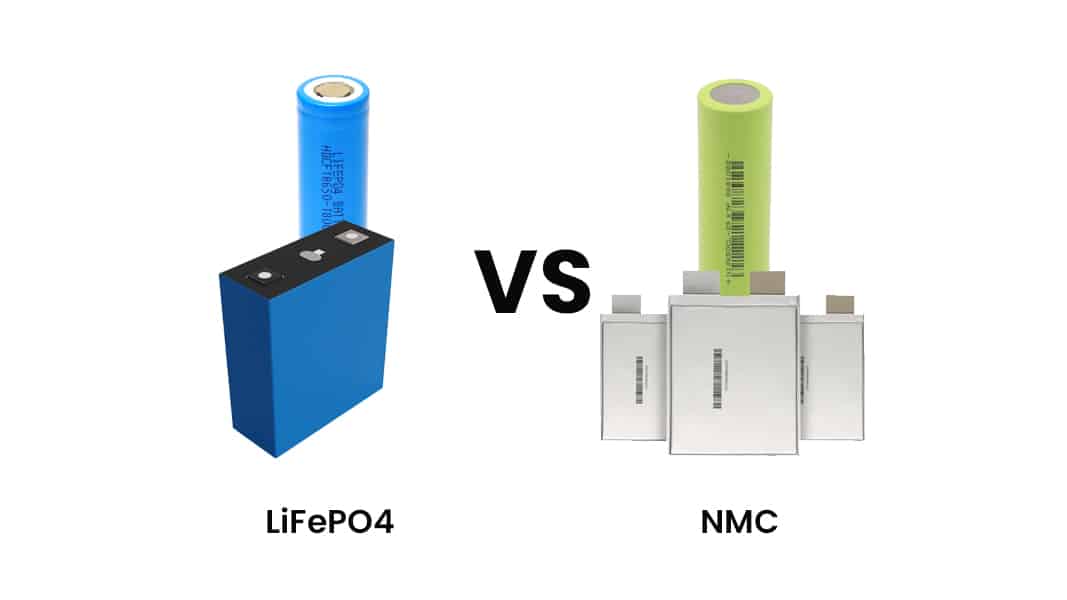
A Comparative Analysis of Lithium Iron Phosphate and Ternary Lithium Batteries
In this comprehensive examination, we delve into the essential factors of energy density, thermal safety, charging efficiency, and cycle life, providing a thorough comparison of LiFePO4 vs NMC battery. This analysis unveils the strengths and trade-offs of these prominent lithium battery technologies, aiding you in making informed decisions for your golf cart power source.